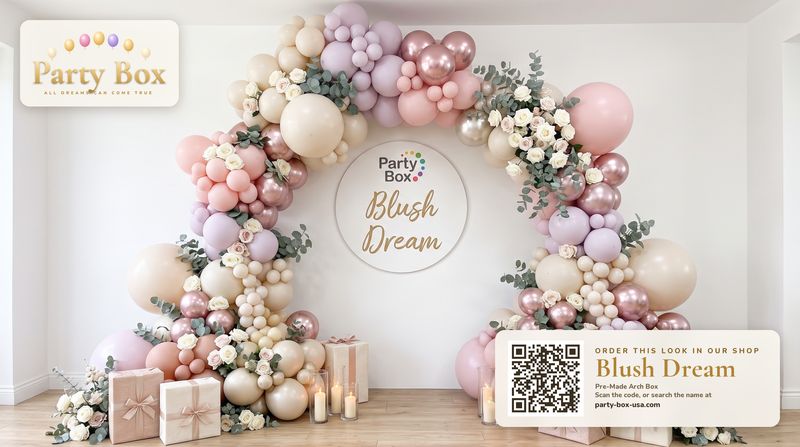
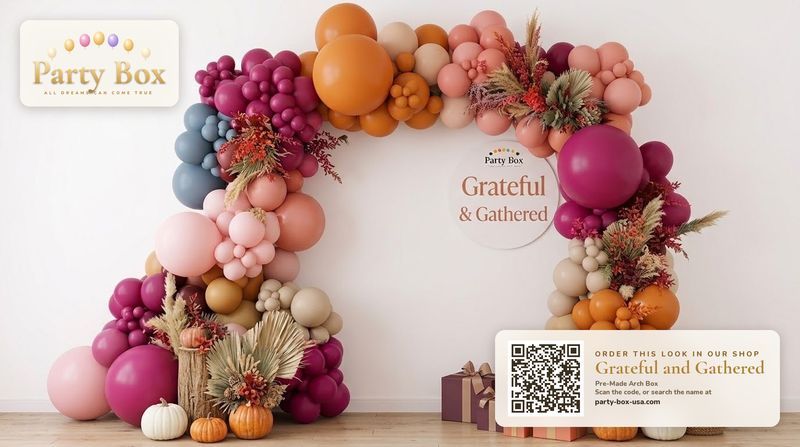
Balloon arches look cheap when they use thin or streaky latex, a single balloon size, too many unrelated colours, rigid symmetry, visible gaps and harsh lighting. Fix it with premium latex, mixed sizes (large, medium, small), a 3–4 colour palette, an asymmetric shape, a filler pass for gaps, one natural texture like greenery, and warm light.
Quick takeaways
- Latex quality is the biggest factor — and the hardest to fix after the fact.
- Mixed balloon sizes create the depth that reads as “designer”.
- Three or four colours beat six. Always.
- Asymmetry, fillers and warm light finish the look.
The six reasons arches look cheap
- Thin, streaky balloons — they go pear-shaped and blotchy. See how to tell balloon quality.
- One balloon size — a tube of identical balloons looks like a pool noodle.
- Too many colours — rainbow-by-accident reads chaotic in photos.
- Perfect symmetry — evenly spaced everything looks mass-produced.
- Gaps — wall or strip showing through the garland.
- Bad light and clutter — overhead light flattens; messy backgrounds distract.
Free planning toolNew to balloon arches? Our step-by-step balloon arch guide covers planning, building and hanging from start to finish.
12 fixes stylists use
- Start with premium latex — it’s the foundation everything else sits on.
- Use at least three sizes: large statement, medium body, small fillers.
- Limit the palette to three or four colours, plus one metallic at most.
- Build asymmetric: heavy and full on one side, trailing on the other.
- Cluster your largest balloons in a group of three near one end.
- Inflate slightly under max so balloons look round and glossy.
- Do a filler pass: tuck small balloons into every gap with Magic Tape.
- Add “floaters” — single balloons taped on the outer edge for movement.
- Layer one natural texture: eucalyptus, pampas, florals or ferns.
- Hide the hardware: turn clusters to cover the loop balloon and hooks.
- Clear the background and the floor beneath the arch.
- Light it warm: candles, lamps or warm fairy lights, never just the ceiling light.

Palette is a shortcut to luxe
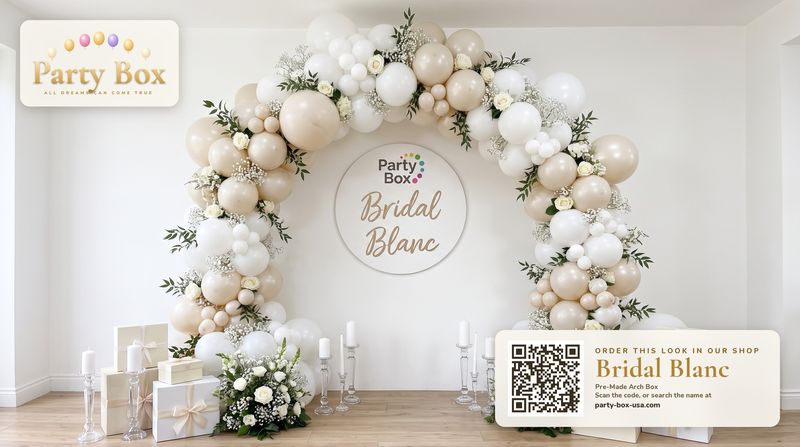
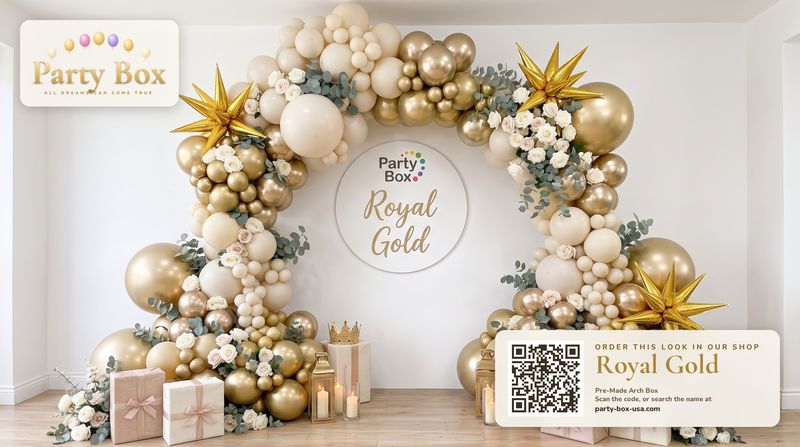
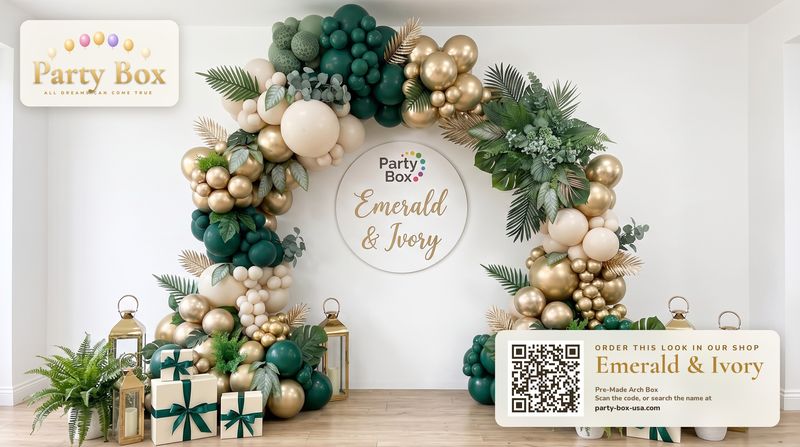
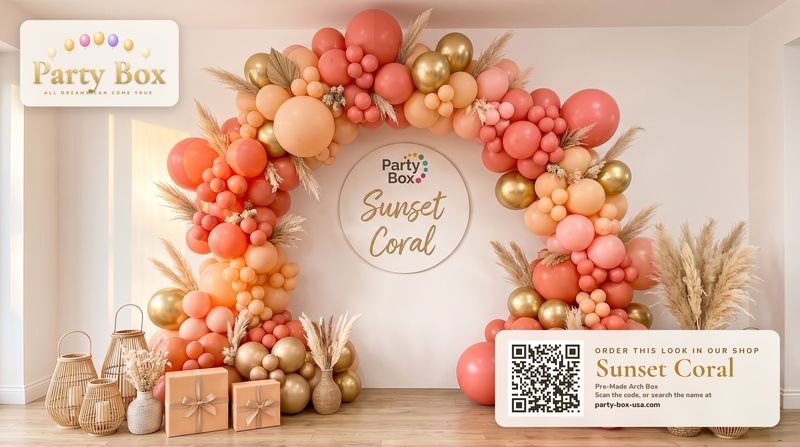
Luxury palettes share a pattern: one dominant colour, one or two supporting tones, and a single metallic accent. Champagne gold with ivory and sand (Royal Gold). Deep emerald with ivory and gold (Emerald & Ivory). Coral and peach with a hint of gold (Sunset Coral). Every Party Box palette is designed on this principle, which is why they photograph like professional installs.

Before-and-after: what changes
| Cheap-looking | Expensive-looking |
|---|---|
| Six random colours | Three colours + one metallic |
| All 11-inch balloons | 18-inch, 11-inch and 5-inch mixed |
| Symmetrical rainbow arc | Organic, asymmetric swoop |
| Gaps showing the strip | Dense, gap-free with floaters |
| Overhead light only | Warm side light and candles |
| Cluttered background | Clean wall, styled table |
Check it through the camera
Your eyes forgive; your phone camera doesn’t. Before guests arrive, take a photo of the arch from where people will pose. Look for gaps, a crooked line, a colour clump or something ugly in the background, fix it, and shoot again. Ten minutes of this is the difference between “cute” and “who did your balloons?”. For more on photographing the arch, read phone photo tips for balloon arches.
The lighting fix nobody talks about
You can do everything else right and still get flat, disappointing photos if the only light is a ceiling fixture. Overhead light casts shadows under every balloon and drains colour. Instead, light the arch from the side and front: a floor lamp angled toward it, candles on the table beneath, or warm fairy lights woven through the garland. In daytime, put the arch where window light falls across it rather than behind it — backlit balloons turn into silhouettes in photos.
Matte balloons love soft, diffused light. Chrome and pearl love a few small, warm light sources that create highlights. Either way, warm white (not cool daylight bulbs) flatters both balloons and skin tones.
Small details that read expensive
For table ideas, see styling the table under a balloon arch.
- A styled table beneath the arch — cake stand, florals, a candle or two.
- A single statement sign rather than many small ones.
- Matching napkins or plates in one palette colour.
- Hiding cables, tape rolls and storage boxes from the photo zone.
- A soft rug or runner on the floor in front of the arch.
The easiest fix of all
If you don’t want to think about any of this, start with a kit that already solves most of it: premium latex, mixed sizes and a designed palette, counted and bagged by cluster. That’s Party Box. Browse the lookbook to see every palette styled and photographed.