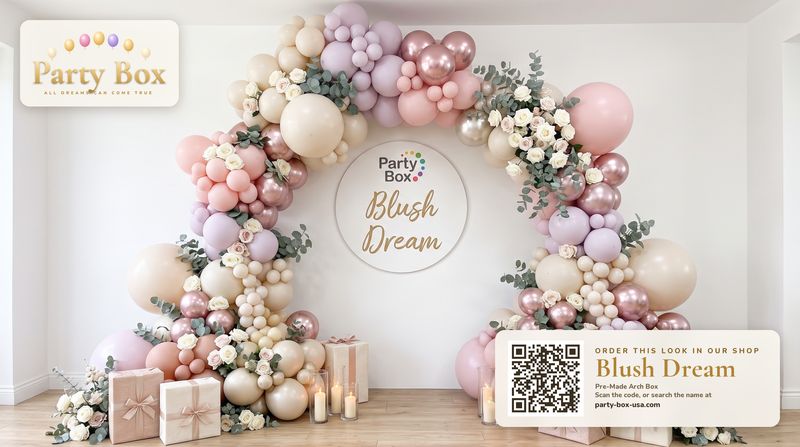
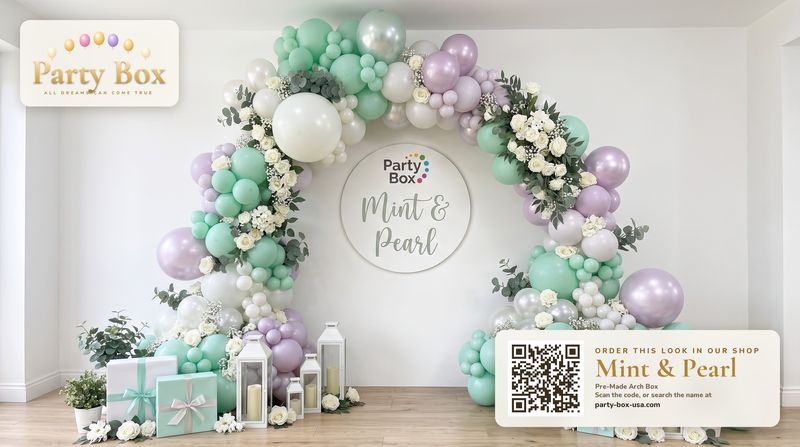
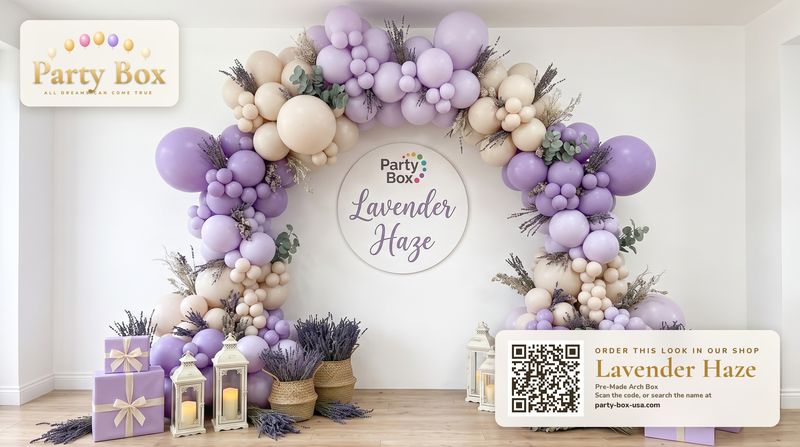
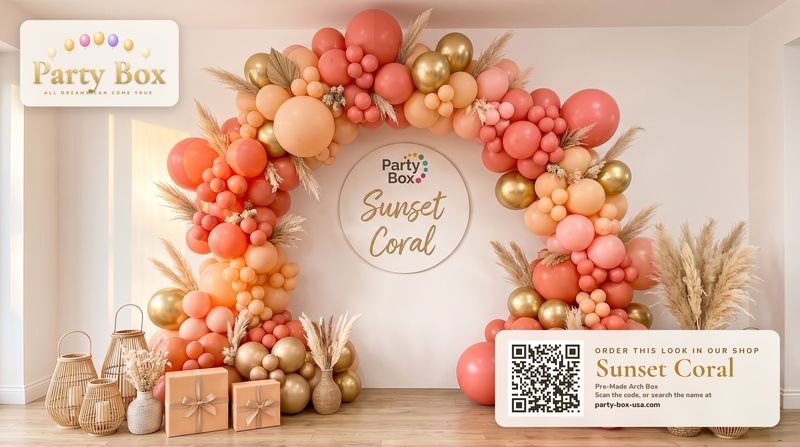
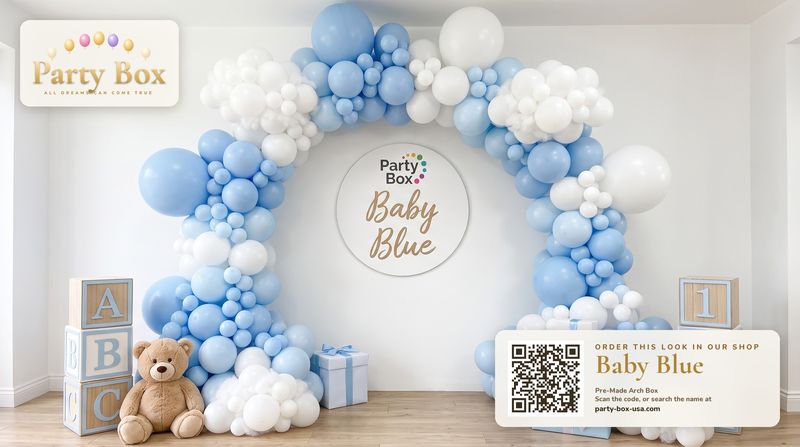
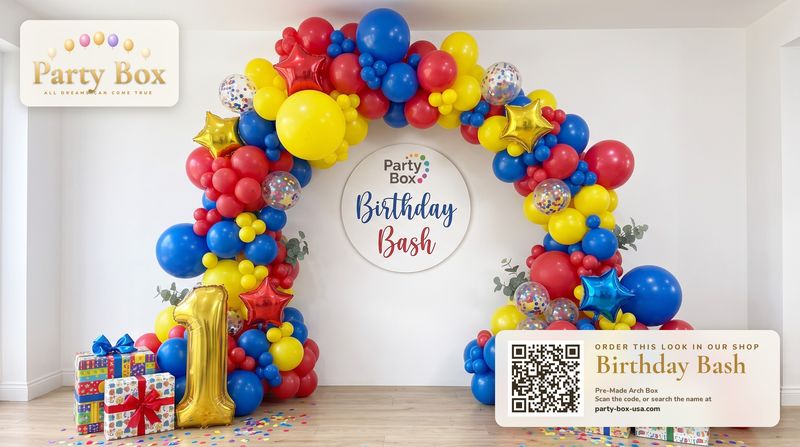
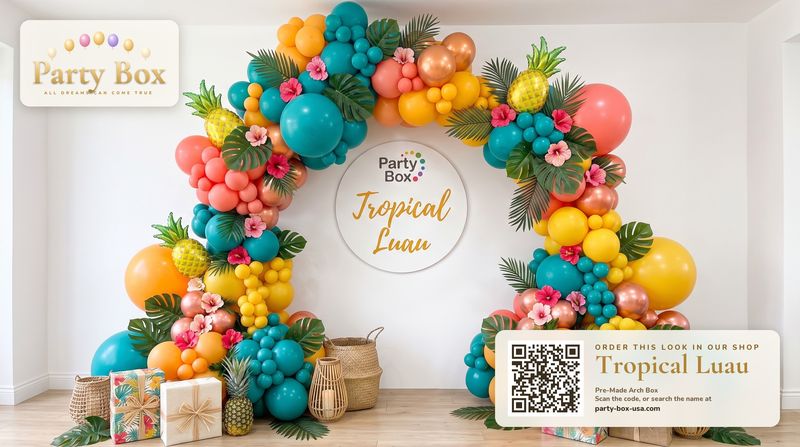
To set up a balloon arch kit: clear and measure your wall, inflate balloons by size (slightly under max), tie them into clusters of four, twist clusters onto the long loop balloons to form the garland, mount it with tape or hooks, then fill gaps with small balloons and add accents. A Party Box kit takes about 1–2 hours with one person, less with two.
Quick takeaways
- Prep first: measure, clear the wall and lay out bags by cluster before inflating anything.
- Inflate slightly under maximum for rounder, tougher balloons.
- Clusters of four (two pairs twisted together) are the building block of every arch.
- Finish with small fillers and asymmetry — that’s what makes it look professional.
Before you start (10 minutes)
Unbox somewhere with floor space and lay out the bags by cluster — Party Box kits arrive counted and bagged so this takes minutes. Read the how-to-hang guide once all the way through. Measure where the arch will go and mark the two end points with a pencil dot or painter’s tape so you know the path the garland will travel.
- Your kit: balloons, long loop balloons, Magic Tape, how-to-hang guide, spares
- A hand or electric pump (add one at checkout: $12.50 / $29.50)
- Scissors and removable hooks or strips for mounting
- A helper if you have one — it nearly halves the time
Free planning toolNew to balloon arches? Our step-by-step balloon arch guide covers planning, building and hanging from start to finish.
Step-by-step build
Here’s the order we follow in the studio. Times are for a 10 ft arch with one person.
- Inflate the large balloons (10 min). Fill to just under maximum and tie. These set the shape.
- Inflate the medium balloons (15 min). Keep sizes consistent — a sizing template or a box with a hole cut out helps.
- Make pairs, then clusters (15 min). Tie two balloons together at the necks to make a pair; twist two pairs together to make a four-balloon cluster.
- Build the garland (20 min). Twist clusters onto the long loop balloons, rotating each cluster a quarter turn so it nests into the last. Alternate colours as the guide shows.
- Mount it (10 min). Attach the ends at your marks, then support the middle with hooks or strips every couple of feet.
- Fill and float (15 min). Inflate small balloons to different sizes and tuck them into gaps with Magic Tape. Add a few large statement balloons off-centre.
- Style (10 min). Add greenery, a sign or lights, step back, and fix anything that looks too even.

Timing by kit size
| Kit | One person | Two people |
|---|---|---|
| 5 ft — The Welcome | About 45–60 min | About 30–40 min |
| 10 ft — The Celebration | About 1–1.5 hours | About 45–60 min |
| 20 ft — The Grand | About 2 hours | About 1–1.5 hours |
| 40 ft — The Kingdom | 3+ hours | About 2 hours |
Stylist tipAn electric pump is the single biggest time-saver on 20 ft and 40 ft kits.
Pro tricks for a lush, expensive look
- Go asymmetric. Let one side be fuller and trail off thinner on the other — it reads designer, not DIY.
- Vary sizes inside clusters. Mix a few different-sized balloons so the surface looks organic.
- Hide the spine. Turn clusters so the loop balloon disappears behind them.
- Cluster your accents. Group chrome or pearl balloons in twos and threes rather than spacing them evenly.
- Layer one texture. Eucalyptus, dried pampas or a few faux florals instantly elevate the arch — see adding flowers and greenery.

Set up your workspace like a pro
The fastest builds happen on a clear floor near the spot where the arch will hang. Lay a sheet or blanket down so balloons don’t pick up dust or pet hair, and line up the cluster bags left to right in the order the guide uses them. Put the pump on a chair at waist height so you aren’t bending for an hour. If you have a helper, give one person inflating and the other tying and twisting — it’s a rhythm, and you’ll find it within five minutes.
Keep finished clusters on a bed or couch rather than the floor, where they roll around and attract static. And keep anything sharp — pet claws, earrings, rough brick, tack strips — well away from the build zone. Most pops happen during building, not during the party.
How to size balloons consistently
Consistent sizing within each group is what makes clusters lock together. The easy trick: cut a circle the size you want in a piece of cardboard (or use the side of a shipping box) and inflate each balloon until it just passes through. Do all the large balloons first, then reset the template for the medium ones. Small filler balloons are the opposite — vary them on purpose, because a mix of small sizes is what makes the surface look organic.
If you’re using an electric pump, count seconds per balloon once you’ve found the right size; it keeps a whole batch uniform with almost no thought.
Stylist tipUnder-inflate chrome balloons slightly more than matte ones — chrome loses its mirror finish when it’s stretched tight.
Mounting options for every surface
| Surface | Best mounting method |
|---|---|
| Painted drywall | Removable hooks or strips, test first on a hidden spot |
| Wood paneling or doors | Small removable hooks or painter’s-tape-backed Magic Tape |
| Brick or stone | Clips, tie-off to existing fixtures or a backdrop stand |
| Backdrop stand | Tie loop balloons directly to the frame |
| No wall at all | Floor base & columns — see freestanding arches |
Common mistakes (and quick fixes)
| Mistake | Fix |
|---|---|
| Balloons over-inflated and popping | Let a little air out; aim for round, not tight |
| Gaps showing the wall | Tuck small balloons in with Magic Tape — see fixing gaps |
| Arch sagging in the middle | Add a hook or strip every 2 ft of span |
| Colours clumping together | Rotate clusters and follow the guide’s colour order |
| Arch looks “flat” | Add large balloons off-centre and a few floaters on the outside edge |