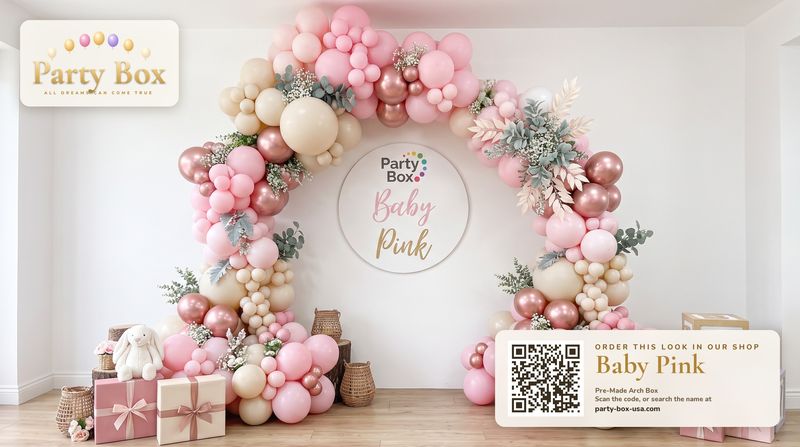
For great balloon arch photos on a phone: light faces from the front with soft window light or two warm lamps, turn off overhead lights, stand people about 3 ft in front of the arch, shoot from 8–10 ft back at chest height with the 2x or portrait lens, use burst mode, and include the whole arch in at least one shot. Avoid backlighting and on-camera flash.
Quick takeaways
- Light the faces, not the balloons — front light wins.
- Stand people ~3 ft in front of the arch.
- Shoot from 8–10 ft back at chest height.
- Burst mode catches the real smiles.
Lighting: the 80% of good photos
Most disappointing party photos are a lighting problem, not a camera problem. Overhead ceiling lights cast shadows under eyes and flatten balloons. Instead, light from the front and side: shoot during the day with the arch facing a window, or at night put two lamps with warm bulbs either side of the camera, angled at face height. Weave warm fairy lights through the arch for sparkle. Turn the ceiling light off.
Avoid backlighting — a bright window behind the arch turns everyone into silhouettes. And skip on-camera flash, which makes balloons look shiny-plastic and faces harsh.
Free planning toolNew to balloon arches? Our beginner’s guide to balloon arches covers planning, building and hanging from start to finish.

Distance and framing
- People ~3 ft in front of the arch — far enough to avoid shadows on the balloons, close enough to be framed by them.
- Camera 8–10 ft back — so the arch fits around the group.
- Chest height — not above (makes people look small) or from the floor (unflattering).
- Use the 2x or portrait lens — more flattering than the wide lens and it compresses the background so the arch looks fuller.
- Keep the phone level — tilted horizons make arches look lopsided.
Settings that help
- Portrait mode for individuals and couples (blurs fairy lights into bokeh).
- Burst mode or Live Photos for kids and groups.
- Tap to focus on faces, then slide exposure slightly down to keep balloon colours rich.
- Timer and a tripod for family photos so everyone’s in it.
- Clean the lens — a smudged lens is the most common cause of hazy party photos.
Stylist tipMark the “stand here” spot on the floor with a piece of tape so every guest lands in the sweet spot.
Posing groups and kids
For groups, put tall people at the back and centre, stagger heads so every face shows, and get people close — shoulders overlapping. Take a “nice” shot, then ask everyone to laugh or look at the guest of honour for candids. For babies and toddlers, shoot at their eye level, have a parent or toy just behind the camera to draw their gaze, and be patient — the best expression comes after the “fake” smile.

Common mistakes
| Mistake | Fix |
|---|---|
| Standing too close to the arch | Step forward ~3 ft |
| Ceiling light only | Lamps in front, overheads off |
| Wide lens up close | Step back, use 2x |
| Cluttered background edges | Move cables, bags and bins out of frame |
| Cropping the arch off | Take one wide shot showing the whole arch |
Make the arch photo-ready
A photogenic arch has no gaps, an asymmetric shape and a palette that flatters skin. Do a filler pass before guests arrive and check it through your camera — the camera shows gaps the eye ignores. Read why balloon arches look cheap and how to fix it and browse palettes made for photos in the lookbook.