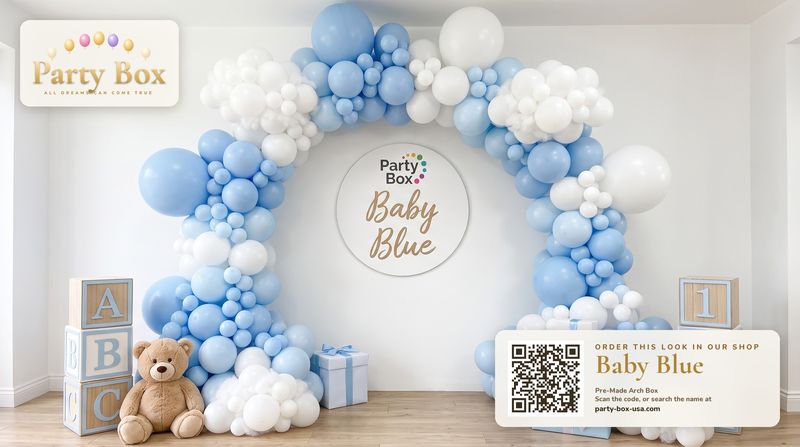
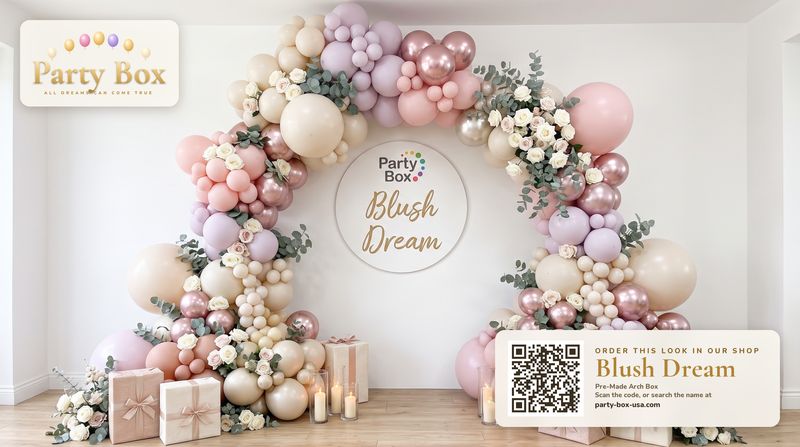
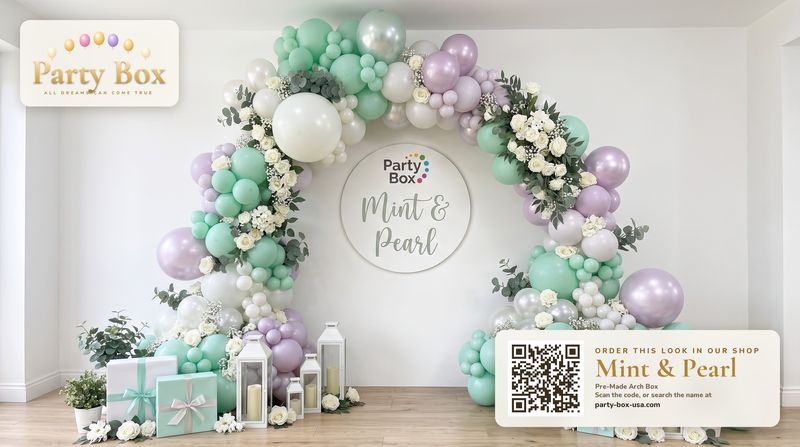
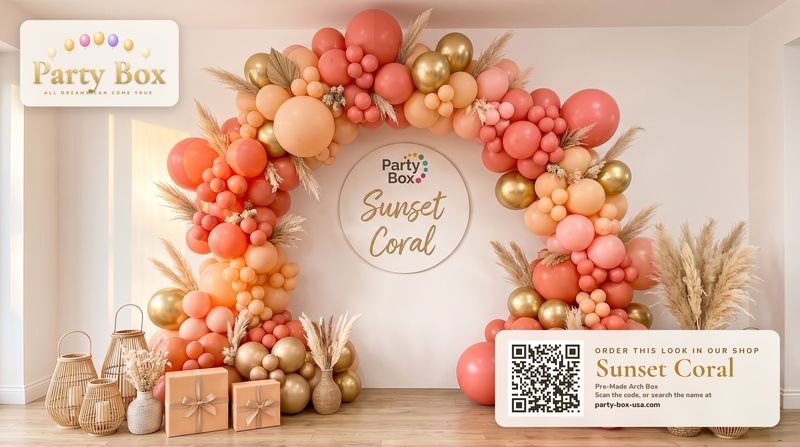
Beginners can absolutely build a balloon arch kit. You need five simple skills — inflating to a consistent size, tying, pairing two balloons, twisting pairs into clusters, and attaching clusters to a long loop balloon. A pre-sorted Party Box kit with a how-to-hang guide makes it assembly rather than design, and most first-timers finish a 10 ft arch in about 1–2 hours.
Quick takeaways
- There are only five skills, and you’ll master them in the first ten minutes.
- A pump and a helper make the biggest difference for first-timers.
- Pre-sorted kits remove the hard decisions: colours and counts.
- Imperfection is the style — organic garlands are meant to look asymmetric.
Why beginners get great results with kits
The hard parts of balloon décor are invisible: choosing colours that work together, buying the right balloon sizes in the right quantities, and knowing how to arrange them so the arch looks lush. A good kit does all of that before it ships. With a Party Box kit, the palette is designed, the balloons are counted and bagged by cluster, and the how-to-hang guide shows you the order. Your job is the fun part — building it.
Organic garlands are also very forgiving. They’re meant to look a little irregular, with balloons of different sizes nestled together. Small “mistakes” disappear into the overall shape.
Free planning toolNew to balloon arches? Our beginner’s guide to balloon arches covers planning, building and hanging from start to finish.
The five skills you need
- Inflate to size. Use a pump and fill each balloon until it’s round with a little give.
- Tie. Stretch the neck, wrap it around two fingers and pull it through. (A balloon tying tool helps if you have long nails.)
- Pair. Tie two balloons together by their necks.
- Cluster. Twist two pairs together at the centre to make a four-balloon cluster.
- Attach. Twist each cluster onto the long loop balloon, nesting it against the last one.

Your first-arch game plan
Pick a 5 ft or 10 ft kit for your first build — they’re big enough to wow and small enough to finish in an evening. Put on a playlist, clear the floor and lay the cluster bags out in order. Inflate all of one size at a time, build a handful of clusters, then attach them before making more so you can see your progress. Mount the arch, then do the finishing pass: small balloons in gaps, a few big balloons off-centre, and any greenery or a sign.
Our full walkthrough is in how to set up a balloon arch kit, with timings for each step.
Beginner mistakes (and how to dodge them)
| Mistake | Why it happens | Easy fix |
|---|---|---|
| Balloons popping | Over-inflated or near something sharp | Inflate slightly under max; clear the area |
| Arch looks thin | Clusters too far apart | Push each cluster tight against the last |
| Colours in stripes | Building one colour at a time | Follow the guide’s colour order and rotate clusters |
| Sagging middle | Not enough support | Add a hook every 2 ft |
| Wall showing through | No filler pass | Tuck small balloons into gaps with Magic Tape |
Tools that make it easier
- An electric pump ($29.50) — the biggest time-saver by far.
- A hand pump ($12.50) — great for 5 ft and 10 ft kits.
- A cardboard sizing template — a circle cut in a box to keep balloons uniform.
- Removable hooks — to support the arch without damaging walls.
- A friend — one inflates, one ties. It nearly halves the time.
Stylist tipSore fingers from tying? Inflate, pinch the neck, and let your helper tie while you inflate the next one.
Make your first arch look professional
The finishing touches are what separate a nice arch from a showstopper. Let it be asymmetric — heavier at one end, trailing off at the other. Add three or four large balloons in a cluster near one corner. Tuck in a bit of greenery. Light it with warm light. Then step back and look at it through your phone camera; the camera shows gaps your eyes miss. For more, read why balloon arches look cheap and how to fix it.